Creating a Shoe Insole
For this project, I created a shoe insole intended to return energy to make you run faster by storing and returning energy. This project was part of my internship with Mark Boberg at the production labs in school. As part of this internship, we were required to devise a personal project along with a team project, this being my personal project.
Step 1: Create a mold
Prototype 1

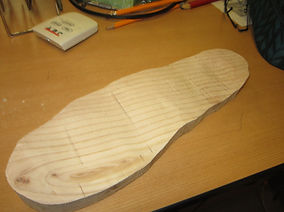
After tracing my foot, I cut the shoe shape using the bandsaw. Afterwards, I sanded down the sides using the belt sander. I marked approximately the depth of different sections of the shoe, then used a dremel to create it.
My first prototype was very rough and unshapely, hardly something that could be used as a mold for a shoe insole. For my second prototype, I planned to cut the contours using the bandsaw instead of the dremel.
Material research: Almost all standard shoe insoles that come with shoes are made out of a piece of foam. However, specialized insoles, such as Super feet, are made out of plastic with a foam covering. Other soles specialized for heel pain have a gel cup. However, this did not help me with finding a material that would store and return energy. A couple days later, I shadowed my dad at Seattle Children’s Hospital. While I was there, I met a man named Greg Becker who was the Manager of the Prosthesis and Orthotics department. He offered me a tour of the lab and showed me some of prosthesis they have available. While we were talking, we came to the topic of running. I asked how amputees could run without their legs. Greg showed me a prosthetic called the flex-foot cheetah. It was a prosthetic leg made out of carbon fiber. Intrigued, I asked why use carbon fiber. He said that carbon fiber was very light but also very strong. In addition, it compresses like a spring which allows people to run. He said that human’s legs allow for 200 percent energy return, whereas cheetah legs only give a 90 percent energy return. But, if carbon fiber was combined with human strength, would it be able to make someone jump higher and run faster?
Prototype 2


I used the bandsaw to cut the rough contour.
I then used the belt sander to sand down the edges. Additionally, I used the dremel with a different bit to add a heel cup.
Step 2: Make the insole
Prototype 1


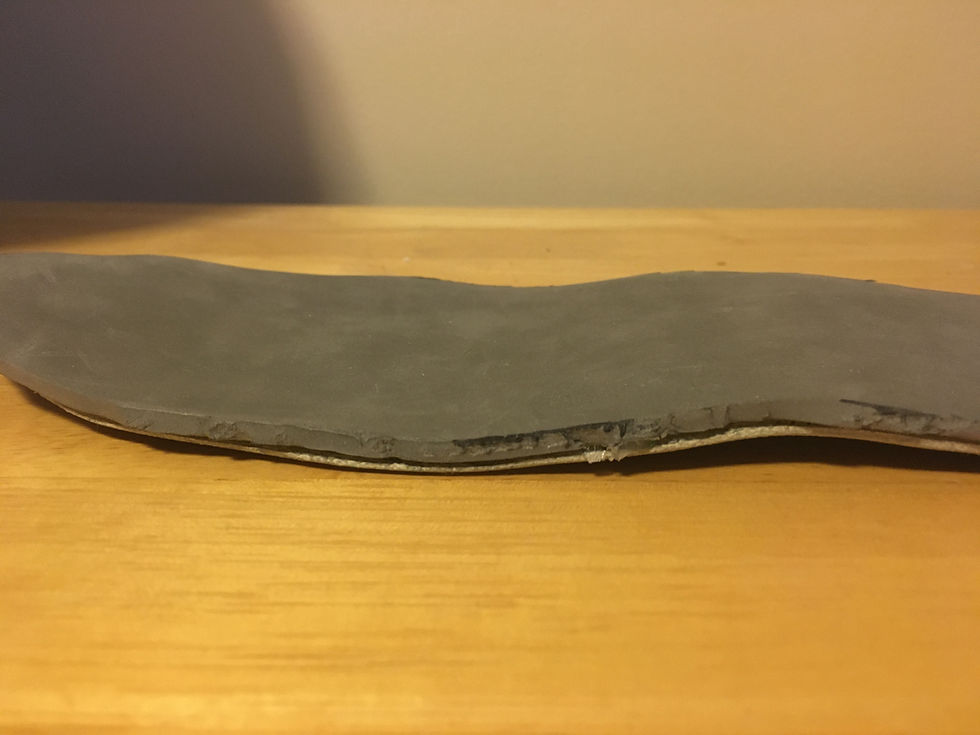
Shoe insole right after taking it off the mold. The sides were rough, but it was way more sturdy and didn't have dried puddles of resin.

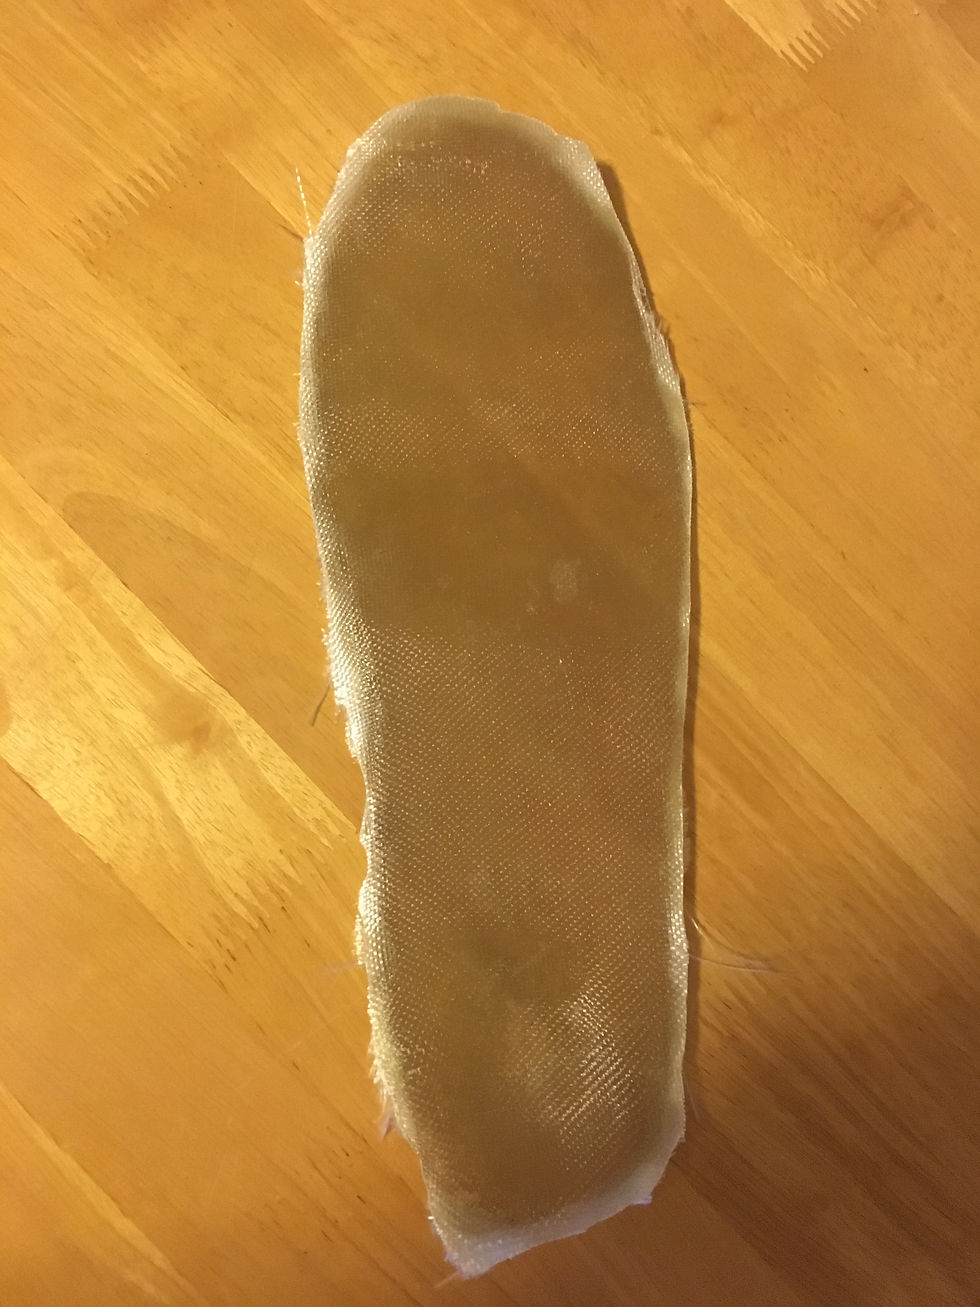
The result was a very thin and flimsy piece of fiber glass. For my next prototype, I decided to use 17 layers.

After my mold was ready, I made a prototype using two layers of fiber glass.

Even though I had a layer of wax paper protecting the wood, some resin managed to get through because of the surplus of resin that I applied.
Final prototype fiber glass design after belt sanding.
My set up to prevent resin from getting on the table.
Next steps:
-
Cover the current prototype with foam padding
-
Create a third fiberglass prototype
-
Create a carbon fiber prototype
-
Test to see if one-legged explosiveness increases
-
Try to make a copy for my left foot
After the first learning cycle, the internship switched directions. The amount of time we were given to do our independent projects was drastically shortened. Due to this, as well as a change in focus, this project was never completed. Below are my final prototypes


FINAL PROTOTYPES
Learning & Reflections:
-
Learned how to use the band saw, scroll saw, belt sander, wire brush, and the dremel along with the different bits
-
How to apply resin to fiberglass along with different types of fiberglass
-
Band saw maintenance
-
Use of carbon fiber in the real world